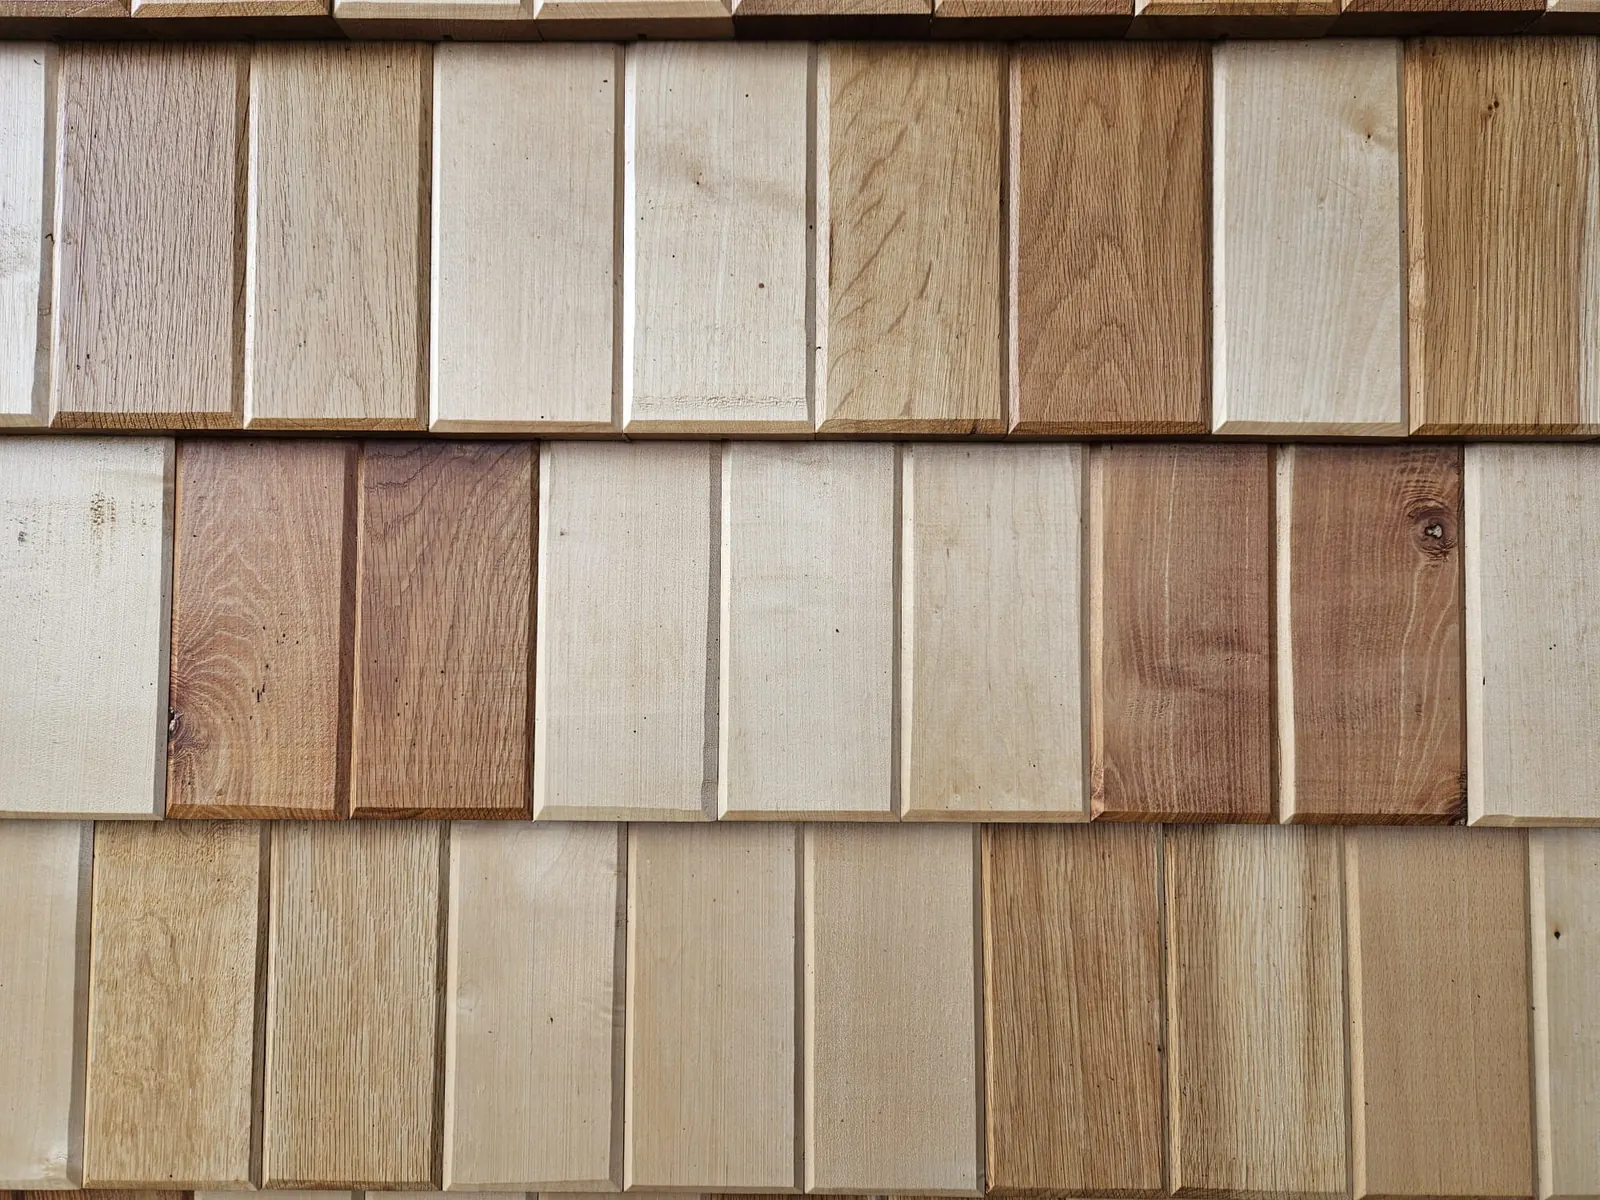
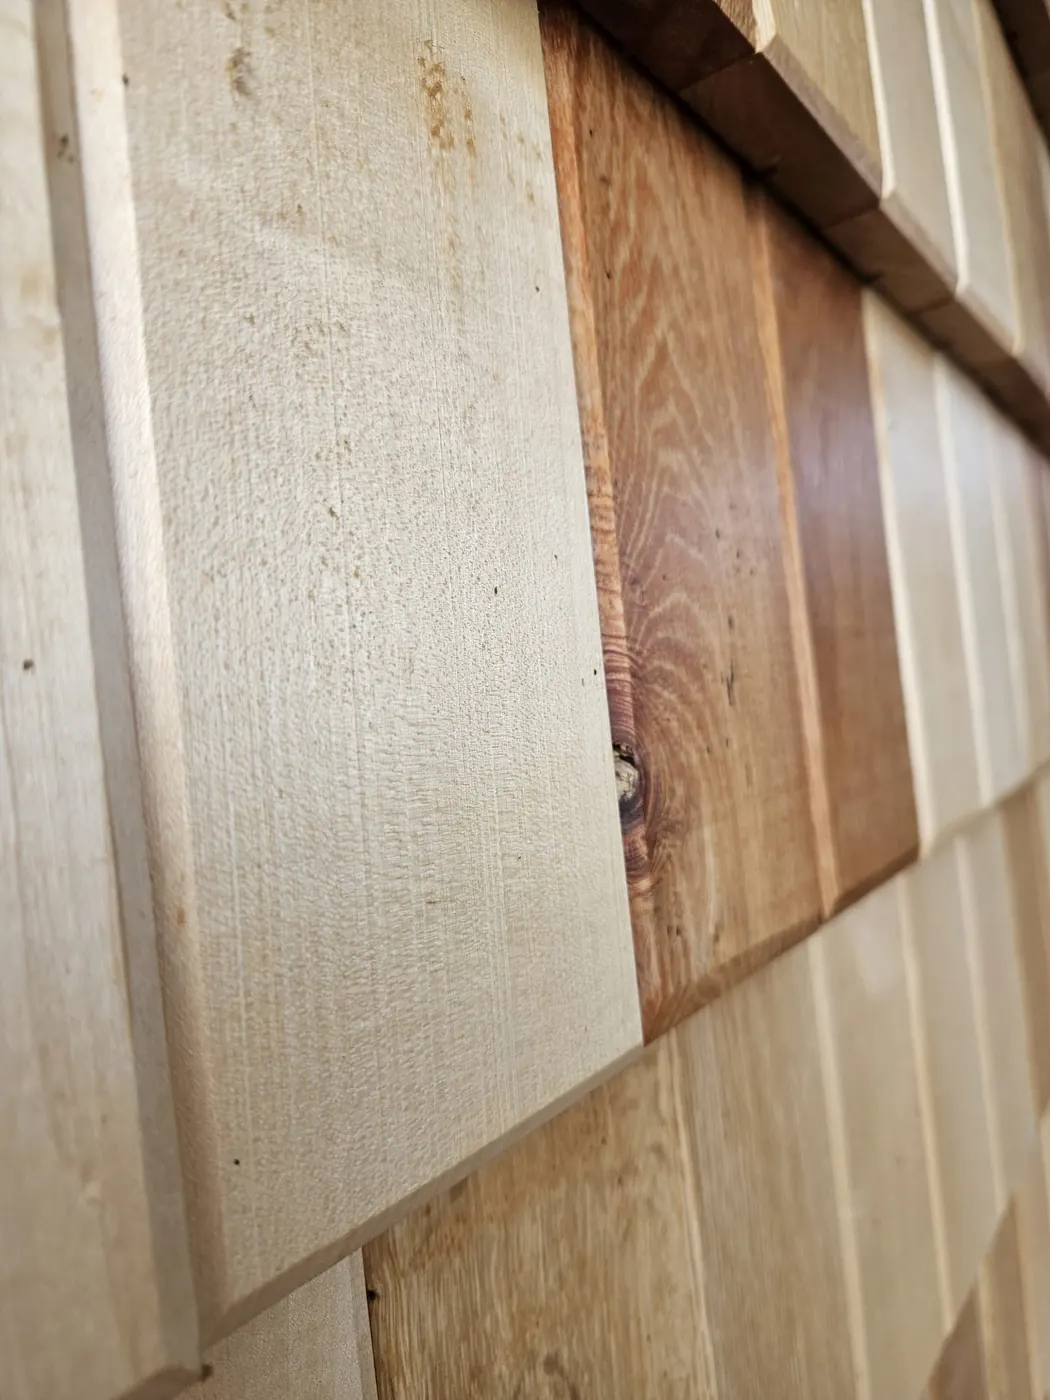
Shingle facade made of honey-coloured and darker tiles

Shingles

MLAT wooden shingle cladding

Our shingle cladding is made of hardwood tiles. In our hot-air kiln we carefully dry the boards to the required moisture content. Drying is followed by cutting, milling and planing, which gives us shingle tiles that can serve as facade cladding or as a decorative element inside the home.

The tiles have pleasant honey-coloured tones that give a warm, natural look. If you would like to liven up the appearance even more, we can add darker tones – acacia or cherry tiles – to create contrasting and interesting combinations.

Our shingle tiles are not only functional but also aesthetic, and let you adapt your facade or interior to your preferences and style.

Close-up of a shingle cladding corner

Guide

Installation guide for shingle cladding

01

Vertical battens

  • Preparing the material: Use dry, impregnated spruce battens measuring 5×5 cm, cut to the length you need.
  • Levelling the wall: Place the battens on the wall at regular intervals of about 60 cm.
  • Fixing: Fix the battens to the wall with 12 mm wall plugs and 6×120–140 mm screws.
  • Insulation: Place 5 cm mineral wool between the battens.
  • Extending for better insulation: If higher insulation performance is needed, add further battens on top of the existing ones to create a 10 cm gap, and fill it with mineral wool.
  • Securing the bottom: Add stops at the bottom so that the mineral wool boards cannot slip.
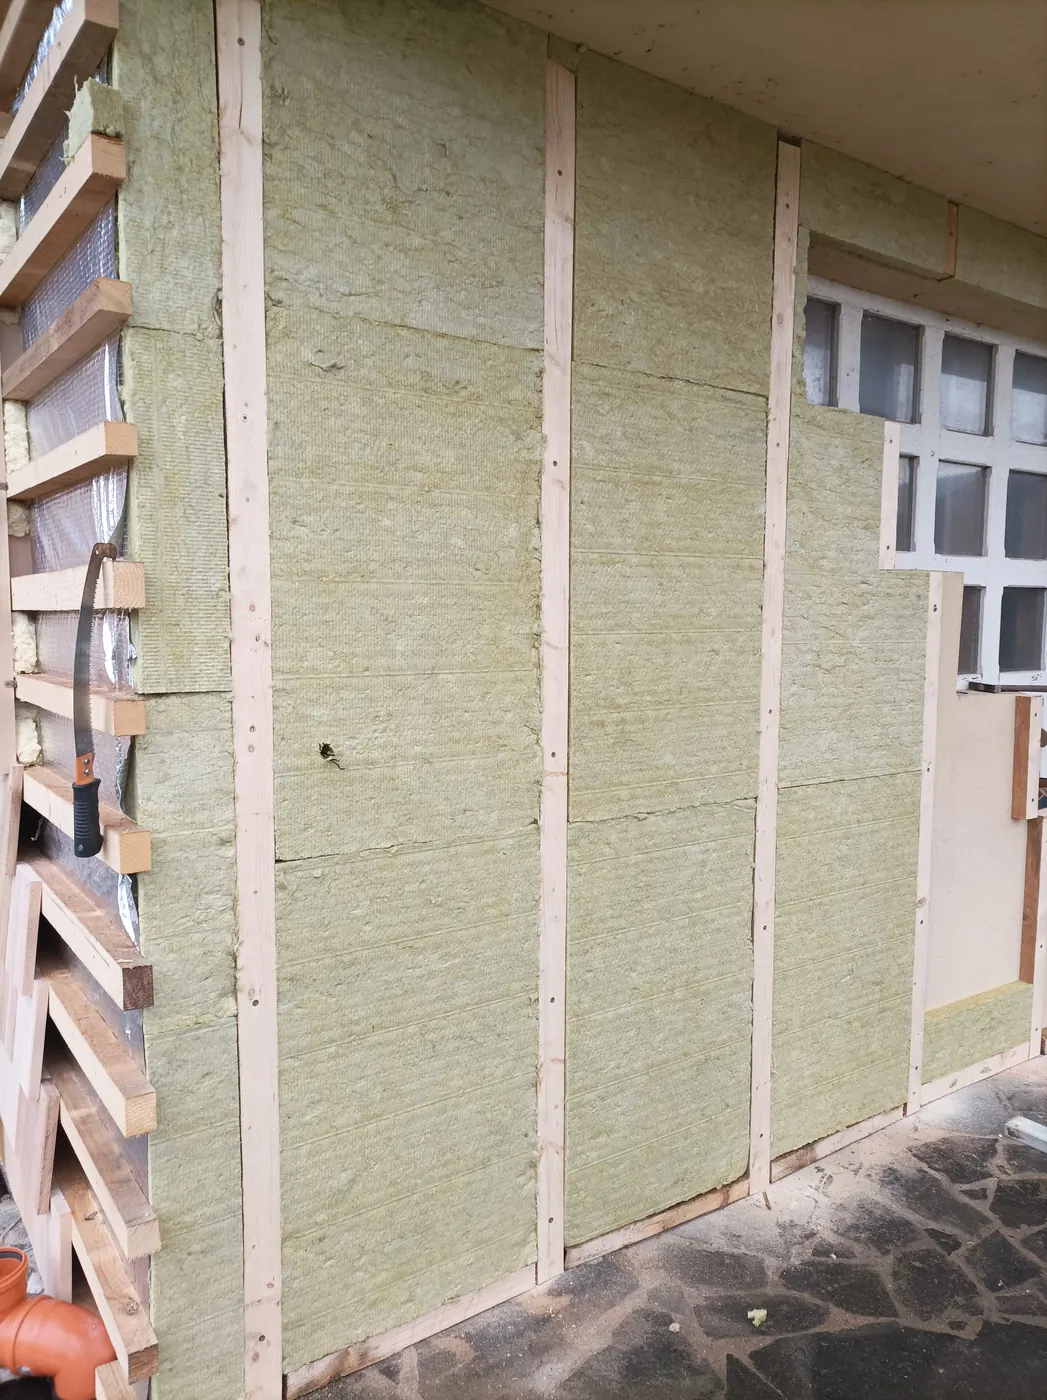
Vertical battens with mineral wool between them
02

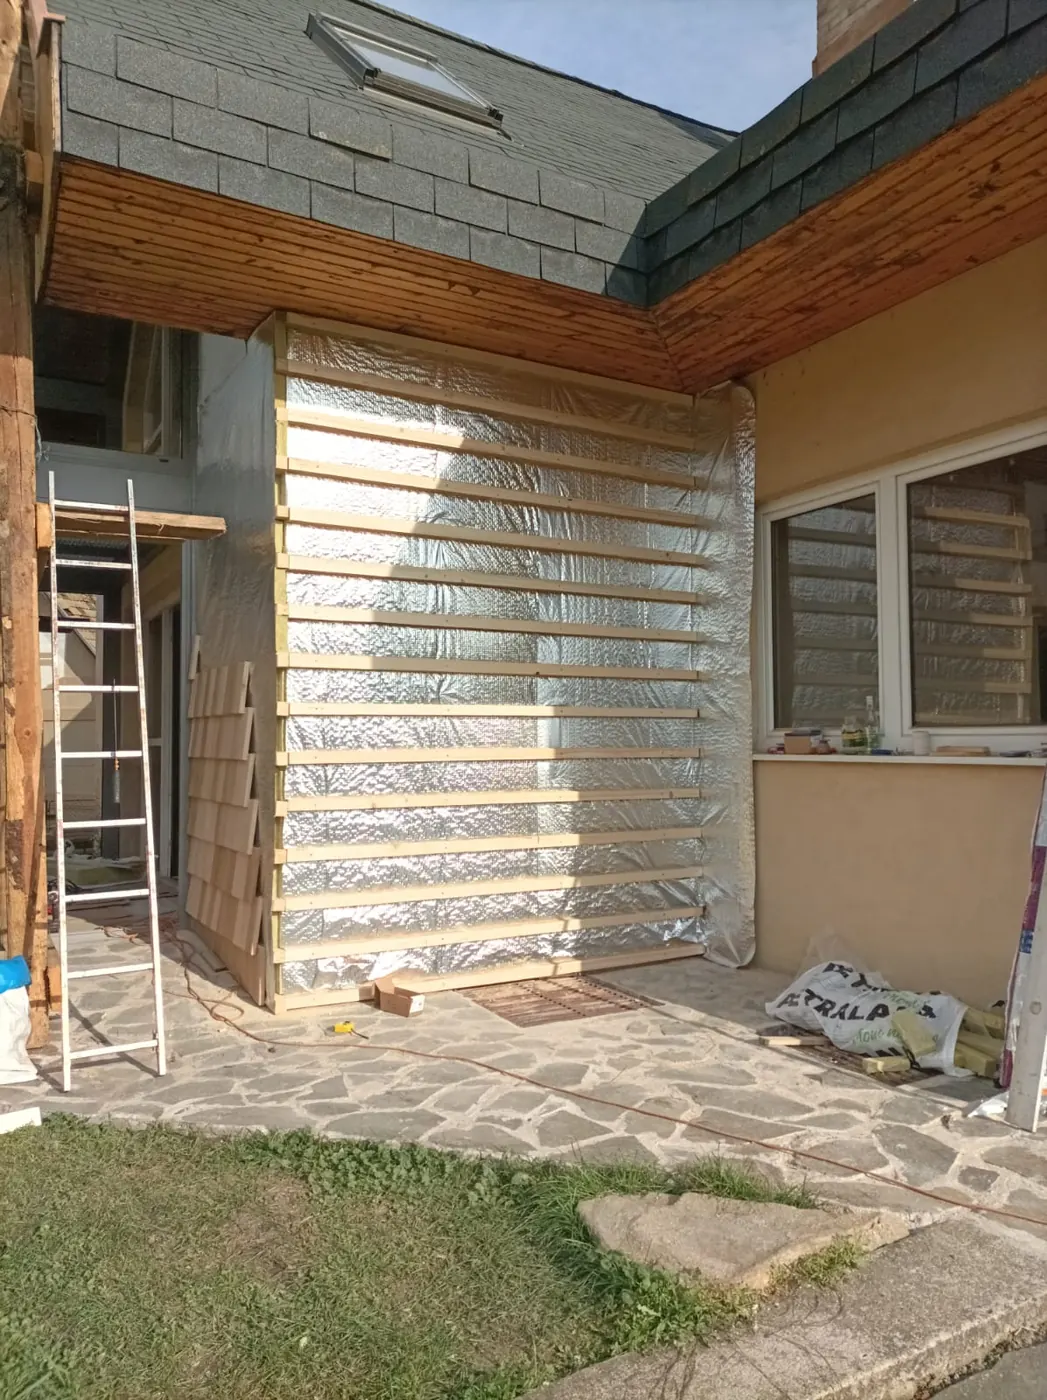
Horizontal battens

  • Preparing the horizontal battens: On the vertical battening with mineral wool (5 or 10 cm thick), fix horizontal battens at regular intervals matching the length of the shingle panels.
  • Insulating the gaps: Fill the gaps between the horizontal battens with 5 cm mineral wool.
  • Covering with foil: Cover the whole surface with a vapour-barrier foil for additional protection and insulation.
Horizontal battens covered with foil
03

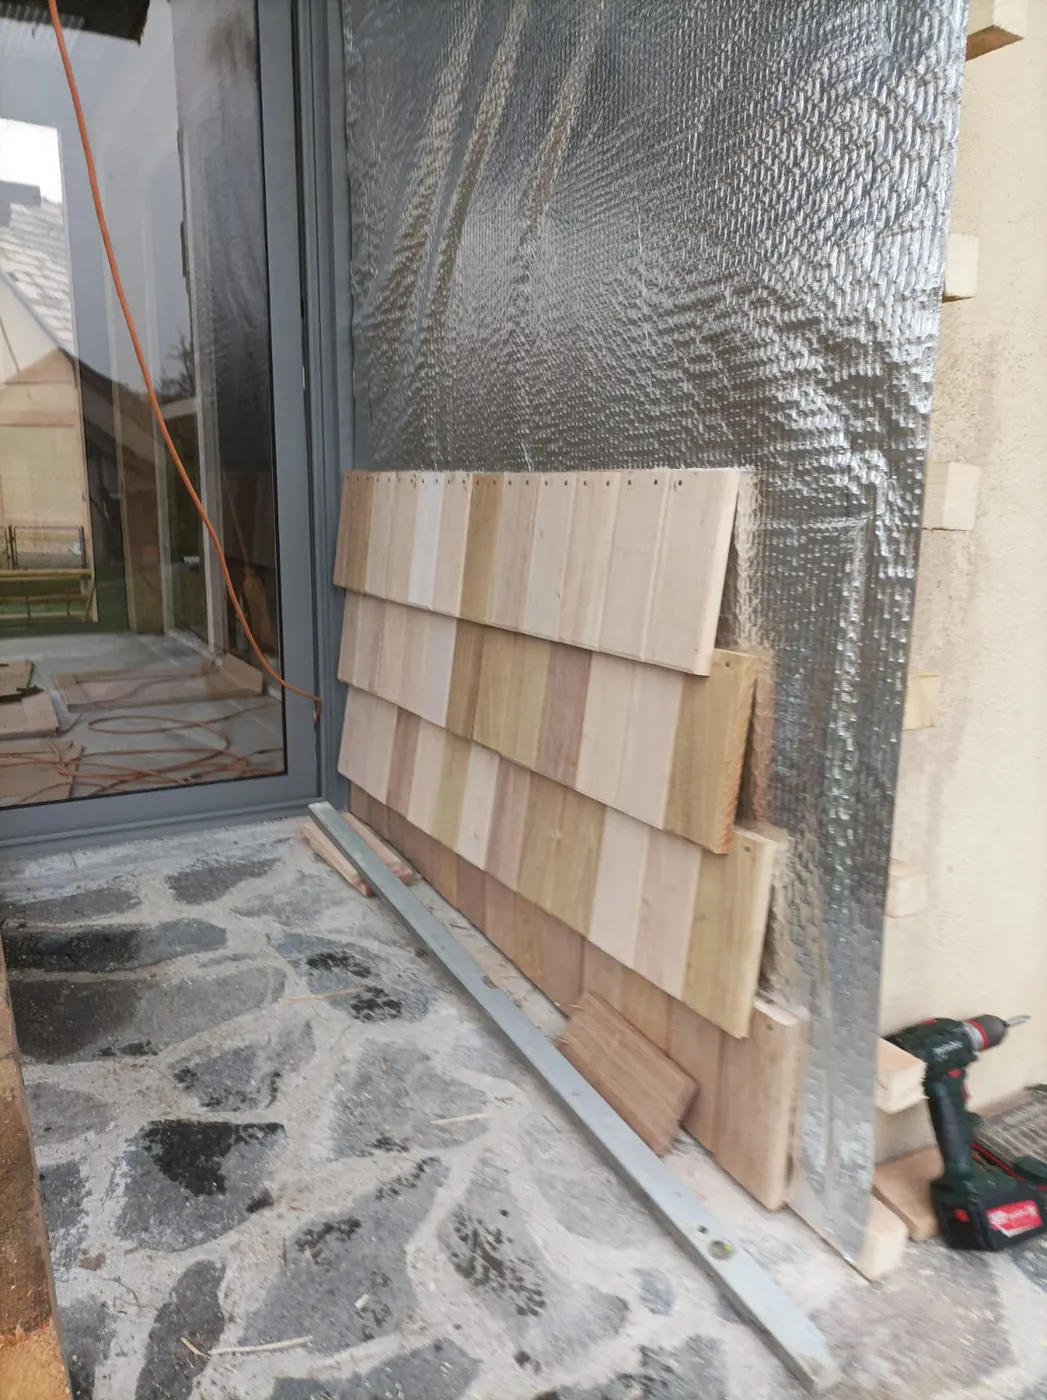
Installing the MLAT shingles

  • Fixing the shingle tiles: Fix the shingle tiles tightly side by side onto the prepared horizontal battens. Use screws 3.5–4 mm in diameter and drive them through the pre-drilled holes in the tiles.
  • Checking the horizontal line: Check the horizontal line regularly with a spirit level or a taut string to keep the tiles evenly aligned.
Shingle tiles being laid on the foil
04

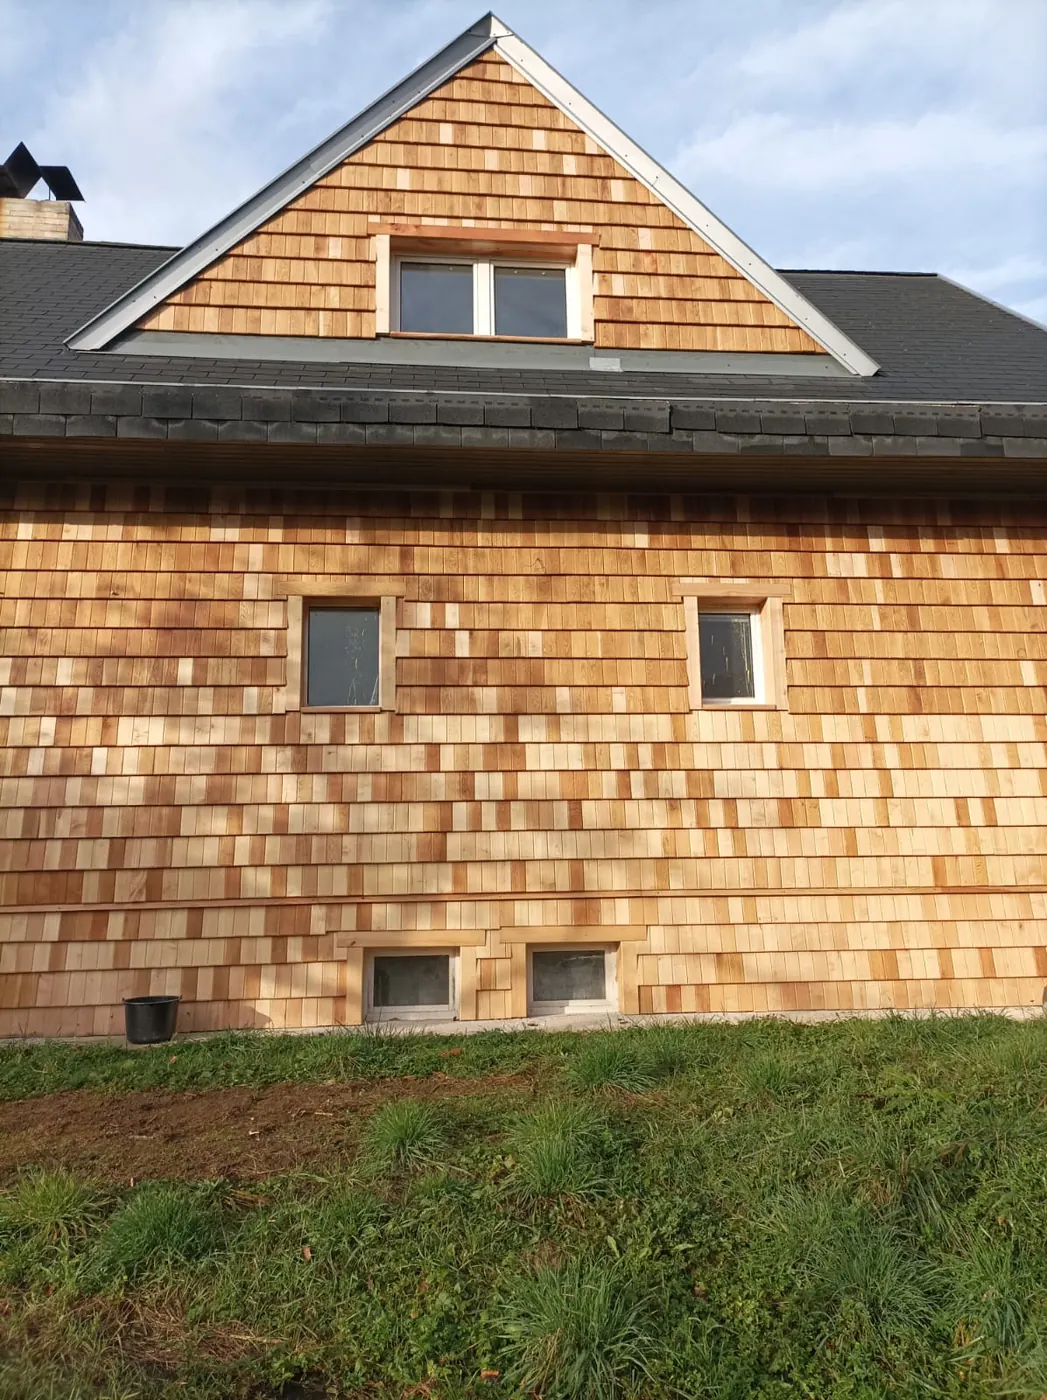
Applying the finish

  • Recommended finish: We recommend a natural finish containing beeswax and oils, which brings out the grain of the wood (OSHO-UV – follow the manufacturer's instructions).
Finished facade with oil-treated shingles

Interested in shingles?

We will gladly advise you on choosing wood species and prepare a quote.

Contact us